Easy way to use Android set as a USB modem. In today’s world, having a stable and reliable internet connection is more important than ever. Whether you need to work remotely or stay connected with friends and family, being able to access the internet from anywhere is crucial. One way to do this is by using an Android device as a USB modem. In this article, we will discuss how to use your Android device as a USB modem, step-by-step.
What is a USB Modem?
Before we dive into the steps, let’s first define what a USB modem is. A USB modem is a device that allows you to connect to the internet via a USB port. It essentially acts as a bridge between your computer and the internet, allowing you to access the internet from anywhere.
Why use an Android set as a USB modem?
There are several reasons why you might want to use an Android set as a USB modem:
- Convenience: Using an Android device as a USB modem means you don’t have to rely on a traditional modem or Wi-Fi network to access the internet. This can be especially useful if you’re on the go or in an area without Wi-Fi.
- Cost-effective: Using an Android device as a USB modem can be a cost-effective alternative to traditional internet service providers (ISPs), especially if you only need to access the internet occasionally.
- Easy to set up: Setting up an Android device as a USB modem is relatively easy and requires minimal technical knowledge.
Now that we’ve covered the benefits, let’s dive into the steps to use your Android device as a USB modem.
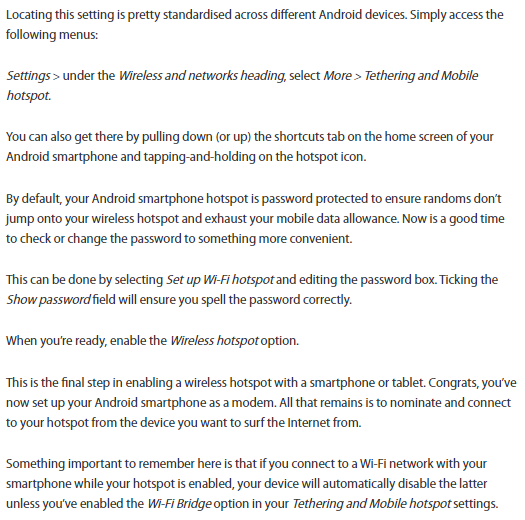
Step 1: Enable USB Tethering on Your Android Device
The first step is to enable USB tethering on your Android device. To do this, follow these steps:
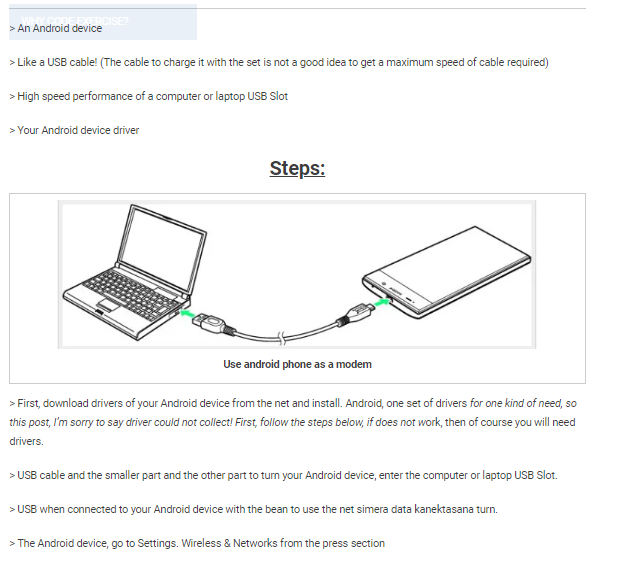
- Connect your Android device to your computer using a USB cable.
- Open the Settings app on your Android device.
- Tap on “Network & Internet.”
- Tap on “Hotspot & Tethering.”
- Tap on “USB tethering” to enable it.
Once USB tethering is enabled, your Android device will start acting as a USB modem.
Read also: All you need to know how to retrieve deleted text messages from Android phone or iPhone
Read also: Easiest Trick To Change Gmail Password
Step 2: Install the Android USB Driver on Your Computer
In order for your computer to recognize your Android set as a USB modem, you need to install the Android USB driver on your computer. The driver is available for download from the Android Developer website. Follow these steps to install the driver:
- Download the Android USB driver from the Android Developer website.
- Extract the downloaded file to a folder on your computer.
- Connect your Android device to your computer using a USB cable.
- Open the Device Manager on your computer.
- Right-click on your Android device and select “Update driver.”
- Select “Browse my computer for driver software.”
- Navigate to the folder where you extracted the Android USB driver and select it.
- Click “Next” to install the driver.
Once the driver is installed, your computer will recognize your Android device as a USB modem.
Step 3: Configure the USB Modem Settings on Your Computer
Now that your Android device is connected to your computer and then you can use Android set as a USB modem, you need to configure the settings to connect to the internet. Here’s how:
- Open the Control Panel on your computer.
- Click on “Network and Sharing Center.”
- Click on “Set up a new connection or network.”
- Select “Connect to the Internet” and click “Next.”
- Select “Broadband (PPPoE)” and click “Next.”
- Enter your ISP username and password (if required) and click “Connect.”
- Once connected, you should see a message indicating that you are connected to the internet.
Congratulations! You’ve successfully set up your Android device as a USB modem.
Tips for Using Your Android Device as a USB Modem
Here are some tips to get the most out of your Android device as a USB modem:
- Monitor your data usage: Using your Android set as a USB modem can consume a lot of data, especially if you’re streaming video or downloading large files. Make sure to monitor your data usage to avoid exceeding your data limit.
- Optimize your device settings: To conserve battery life and improve performance, consider optimizing your Android device settings. This can include turning off unnecessary features like Wi-Fi and Bluetooth and closing apps that are not in use.
- Use a high-quality USB cable: To ensure a stable and reliable connection between your Android device and computer, it’s important to use a high-quality USB cable. A low-quality cable can result in a poor connection and slower internet speeds.
- Keep your Android device charged: Using your Android device as a USB modem can drain its battery quickly. Make sure to keep your device charged or connect it to a power source while using it as a USB modem.
- Consider a mobile hotspot plan: If you plan to use your Android device as a USB modem frequently, consider getting a mobile hotspot plan from your carrier. This can provide a more reliable and cost-effective way to connect to the internet on the go.
Conclusion
Using an Android set as a USB modem is a convenient and cost-effective way to access the internet from anywhere. By following the steps outlined in this article and optimizing your settings, you can take full advantage of this feature and stay connected on the go. Make sure to monitor your data usage and consider a mobile hotspot plan if you plan to use your device as a USB modem frequently.