As a user of Verizon network, you can transfer photos from Verizon Cloud to computer easily. Verizon Cloud is a cloud-based storage service offered by Verizon Wireless that allows users to store and access their photos, videos, and other files from anywhere with an internet connection. While the service is convenient for accessing your files on the go, there may come a time when you need to transfer your photos from Verizon Cloud to your computer. In this article, we’ll explore how to transfer photos from Verizon Cloud to your computer in a few simple steps.

What are the steps to transfer photos from Verizon cloud to computer
Step 1: Log in to your Verizon cloud account
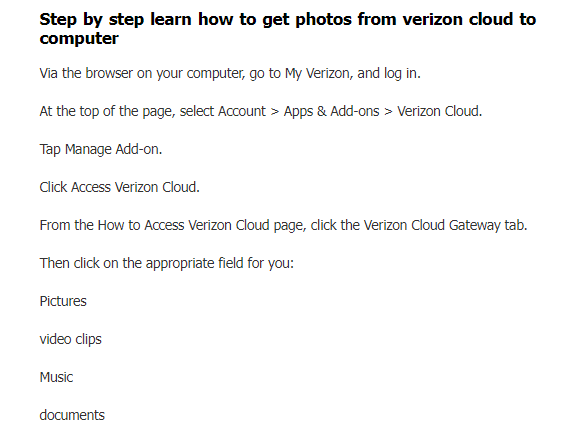
The first step if you want to transfer photos from Verizon Cloud to computer is to log in to your Verizon Cloud account. You can do this by visiting the Verizon Cloud website and entering your login credentials. Once you’re logged in, you’ll be able to access your stored files.
Step 2: Select the photos you want to transfer
Once you’re logged in to your Verizon Cloud account, you’ll need to select the photos you want to transfer to your computer. You can do this by navigating to the Photos section of your Verizon Cloud account and selecting the photos you want to transfer. You can select multiple photos by holding down the Ctrl key on your keyboard and clicking on each photo you want to select.
Step 3: Download the photos to your computer
After you’ve selected the photos you want to transfer, you’ll need to download them to your computer. To do this, click on the Download button in the toolbar at the top of the page. You’ll be prompted to choose a location on your computer to save the downloaded photos. Choose a location that’s easy to remember, such as your desktop or a dedicated folder for your Verizon Cloud photos.
Step 4: Verify the downloaded photos
After you’ve downloaded the photos to your computer, it’s important to verify that they downloaded correctly. Check the location where you saved the downloaded photos and make sure that all of the photos you selected have been transferred. If any photos are missing, you’ll need to repeat the download process for those photos.

Read also: How to transfer photos from Verizon cloud to a computer
Read also: Easy and simple steps to install Verizon cloud 2023
Other Ways to transfer photos from Verizon Cloud to your computer
While downloading photos from Verizon Cloud is the most common way to transfer photos from Verizon Cloud to computer, there are other methods you can use as well. Here are a few additional ways to transfer photos from Verizon Cloud to your computer:
- Using the Verizon Cloud App:
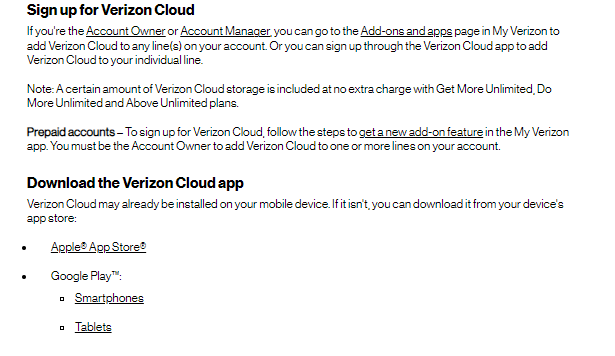
If you have the Verizon Cloud app installed on your computer, you can use it to transfer photos from Verizon Cloud to your computer. Simply open the app and select the photos you want to transfer, then choose the option to save the photos to your computer. - Using a USB cable:
Another way to transfer photos from Verizon Cloud to your computer is to use a USB cable. Connect your phone to your computer using a USB cable, then navigate to your Verizon Cloud photos and transfer them to your computer as you would with any other file. - Using third-party cloud services:
If you prefer to use a third-party cloud service, you can transfer your Verizon Cloud photos to services like Dropbox or Google Drive, then download them to your computer from there.
In Conclusion
To transfer photos from Verizon cloud to computer is a simple process that can be completed in just a few steps. By following the steps outlined in this article, you’ll be able to transfer your photos quickly and easily. Whether you choose to download your photos directly from Verizon Cloud or use another method, transferring your photos to your computer will give you greater flexibility in how you manage and share your photos.


